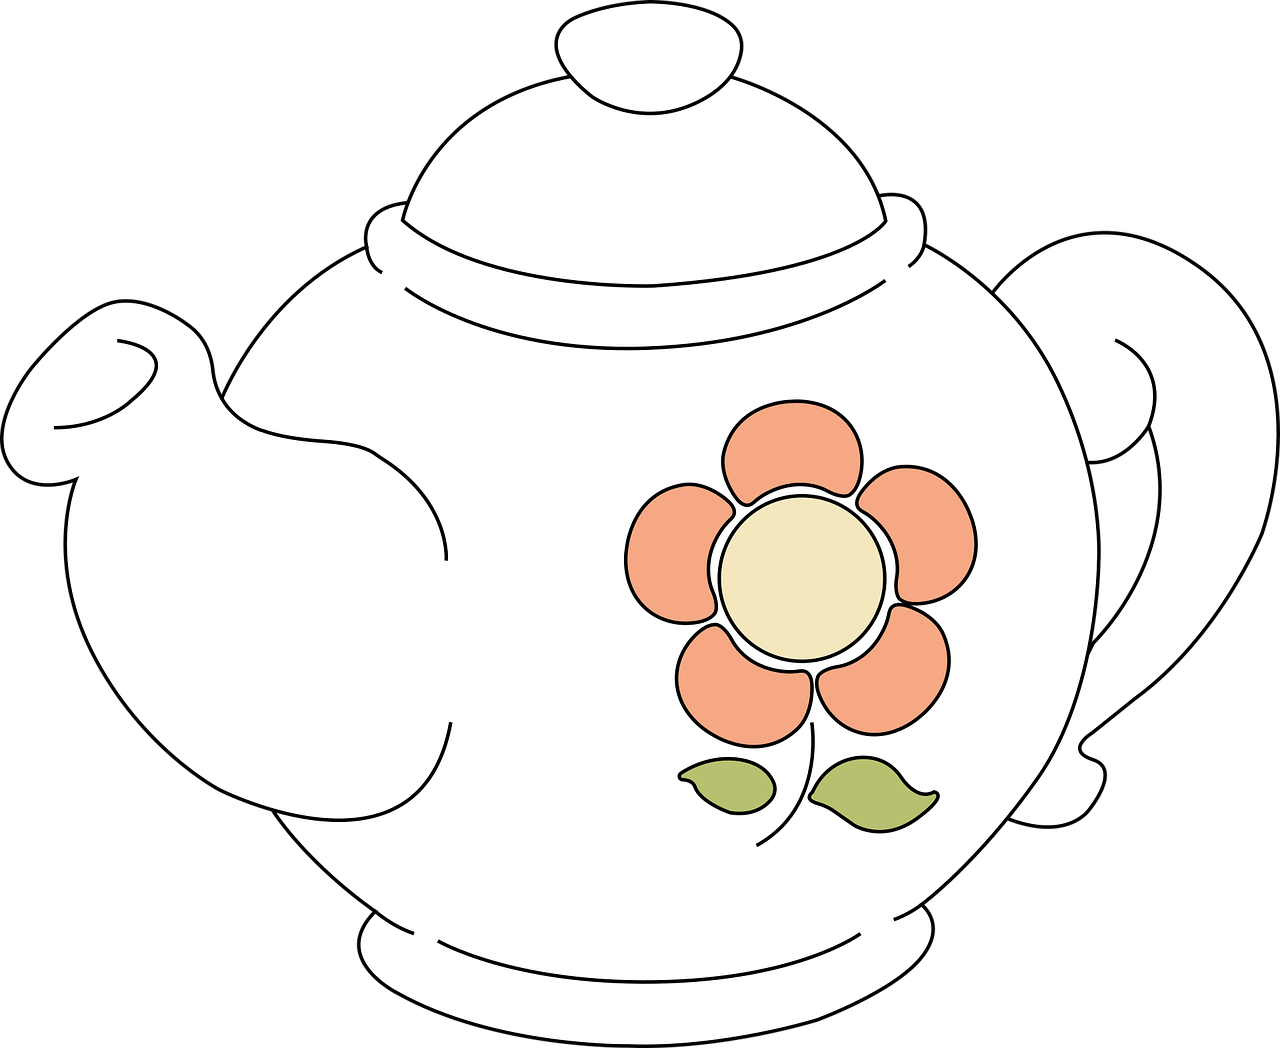
Drawing Of A Teapot
Drawing Of A Teapot - How to draw a tea pot Web we are learning how to draw teapot for kids and beginners which are used to serve tea. The key is to break down the process into simple steps and focus on capturing the essential details of the teapot. Coming out of one side of the kettle draw the snout. Today, let’s try teapot drawing! Web how to draw teapots, how to draw a realistic teapot, how to draw a realistic teapot. Web learn to draw a teapot. Web draw base of the teapot. Web also included is a downloadable version of this teapot drawing tutorial. Web learn how to draw a teapot and teacup with simple steps and tips. There are a variety of teapots are available on the market. On the other side of the teapot, draw a curved line and a small straight line. Also make it much wider at the base and narrower as it goes up. The key is to break down the process into simple steps and focus on capturing the essential details of the teapot. Web welcome to art school! Start by drawing a large oval shape on your paper. Use your ruler to help you create a symmetrical oval. This will form the lid of the teapot. Web how to draw teapots, how to draw a realistic teapot, how to draw a realistic teapot. Web draw base of the teapot. Finally learn to draw food by following this tutorial at your own pace.and now for the how to draw a teapot lesson… materials. Draw a curved, wavy line to end up with a closed path. Coming out of one side of the kettle draw the snout. This drawing tutorials is a derivative work (tacing copy of photography work). This article. Watch this fun and easy drawing tutorial for beginners and kids. On the other side of the teapot, draw a curved line and a small straight line. Web how to draw a teapot for kids easy and step by step. Web how to draw teapots, how to draw a realistic teapot, how to draw a realistic teapot. These are more. Steps for drawing a tea pot step 1. How to draw a tea pot These are more circular than a normal oval, and if you can, make the bottom a little wider than the peak. Finish up the drawing of the tea pot to look something like the above picture…notice that the spout is forked by drawing a sideways letter. Take the eraser and carefully remove all the extra lines in your drawing. This will form the lid of the teapot. I've done this in pencil this time. Coming out of one side of the kettle draw the snout. On the other side of the teapot, draw a curved line and a small straight line. Web drawing a teapot can be a rewarding experience, whether you're an artist or just someone who appreciates tea and tea culture. Web draw base of the teapot. Steps for drawing a tea pot step 1. These are more circular than a normal oval, and if you can, make the bottom a little wider than the peak. Draw this cute. Draw the little circle at the top. Web how to draw a teapot, learn drawing by this tutorial for kids and adults. Web as for the drawing itself, we’ll start by sketching out the top of the tea pot, the bottom, the spout and then add the handle in last. Start by drawing a large oval shape on your paper.. Draw the little circle at the top. These are more circular than a normal oval, and if you can, make the bottom a little wider than the peak. Notice how the tea pot is shadowed to make it appear 3 dimensional and spherical. This will form the body of the teapot. There are a variety of teapots are available on. Web we are learning how to draw teapot for kids and beginners which are used to serve tea. The key is to break down the process into simple steps and focus on capturing the essential details of the teapot. Today, let’s try teapot drawing! Make sure to draw it lightly, as you will be refining and adding details later on.. Draw this cute teapot by following this drawing lesson. Make sure to draw it lightly, as you will be refining and adding details later on. Perfect for art teachers and homeschoolers looking to instruct kids how to draw a teapot. Start by drawing a large oval shape on your paper. This will form the lid of the teapot. These are more circular than a normal oval, and if you can, make the bottom a little wider than the peak. Steps for drawing a tea pot step 1. Take the eraser and carefully remove all the extra lines in your drawing. Get the markers here =. Web welcome to art school! The key is to break down the process into simple steps and focus on capturing the essential details of the teapot. Web teapots are one of the most common objects in the world. These are more circular than a normal oval, and if you can, make the bottom a little wider than the peak. This will form the body of the teapot. Notice how the tea pot is shadowed to make it appear 3 dimensional and spherical. Begin to draw the line for the aperture at the top. Begin by drawing a circle for the top of the tea pot but leave one side with an opening where we will draw the lid. Draw this cute teapot by following this drawing lesson. Before you draw the base, we will be adding another decorative element to the body of the teapot. This article will show you how to draw a teapot. Draw a curved, wavy line to end up with a closed path. I've done this in pencil this time. Also make it much wider at the base and narrower as it goes up. Web learn to draw a teapot. Depict the rest of the teapot spout. Something about their design, shape, and simplicity is instantly recognizable.
How to Draw a Tea Pot Really Easy Drawing Tutorial

Tea Pot Drawing at GetDrawings Free download

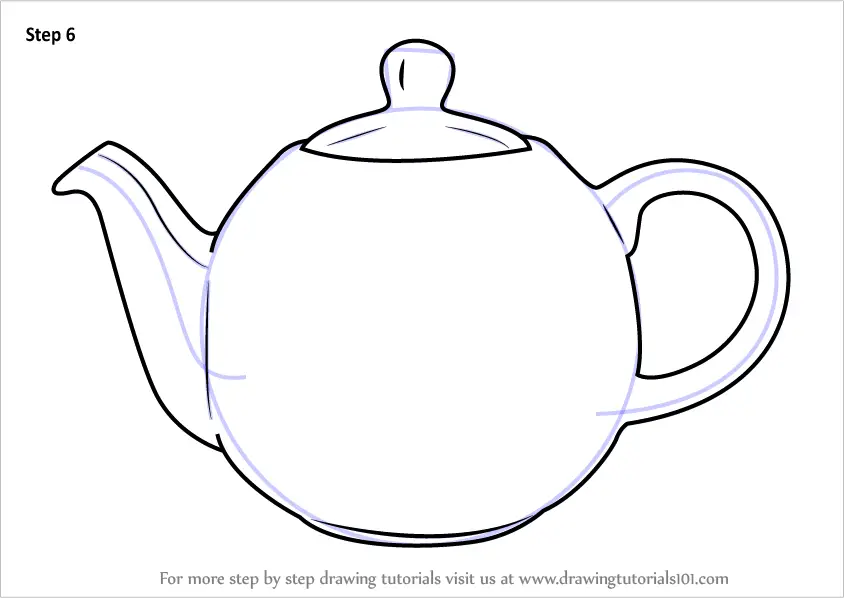
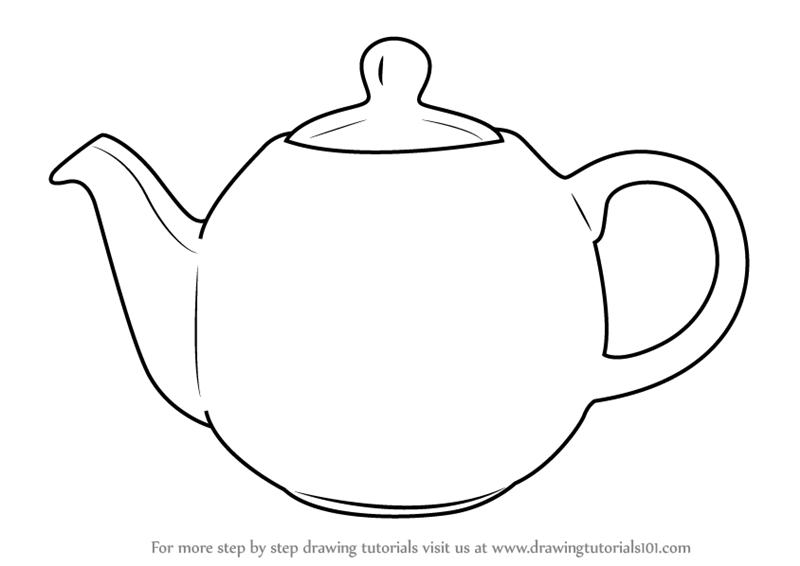
How to draw a teapot Step by step Drawing tutorials
How to Draw a Teapot Easy Drawing Guides

How to Draw a Teapot 6 Steps (with Pictures) wikiHow
Learn How to Draw a Teapot (Everyday Objects) Step by Step Drawing

How to draw a teapot Easy drawings YouTube
How to Draw a Teapot (Everyday Objects) Step by Step
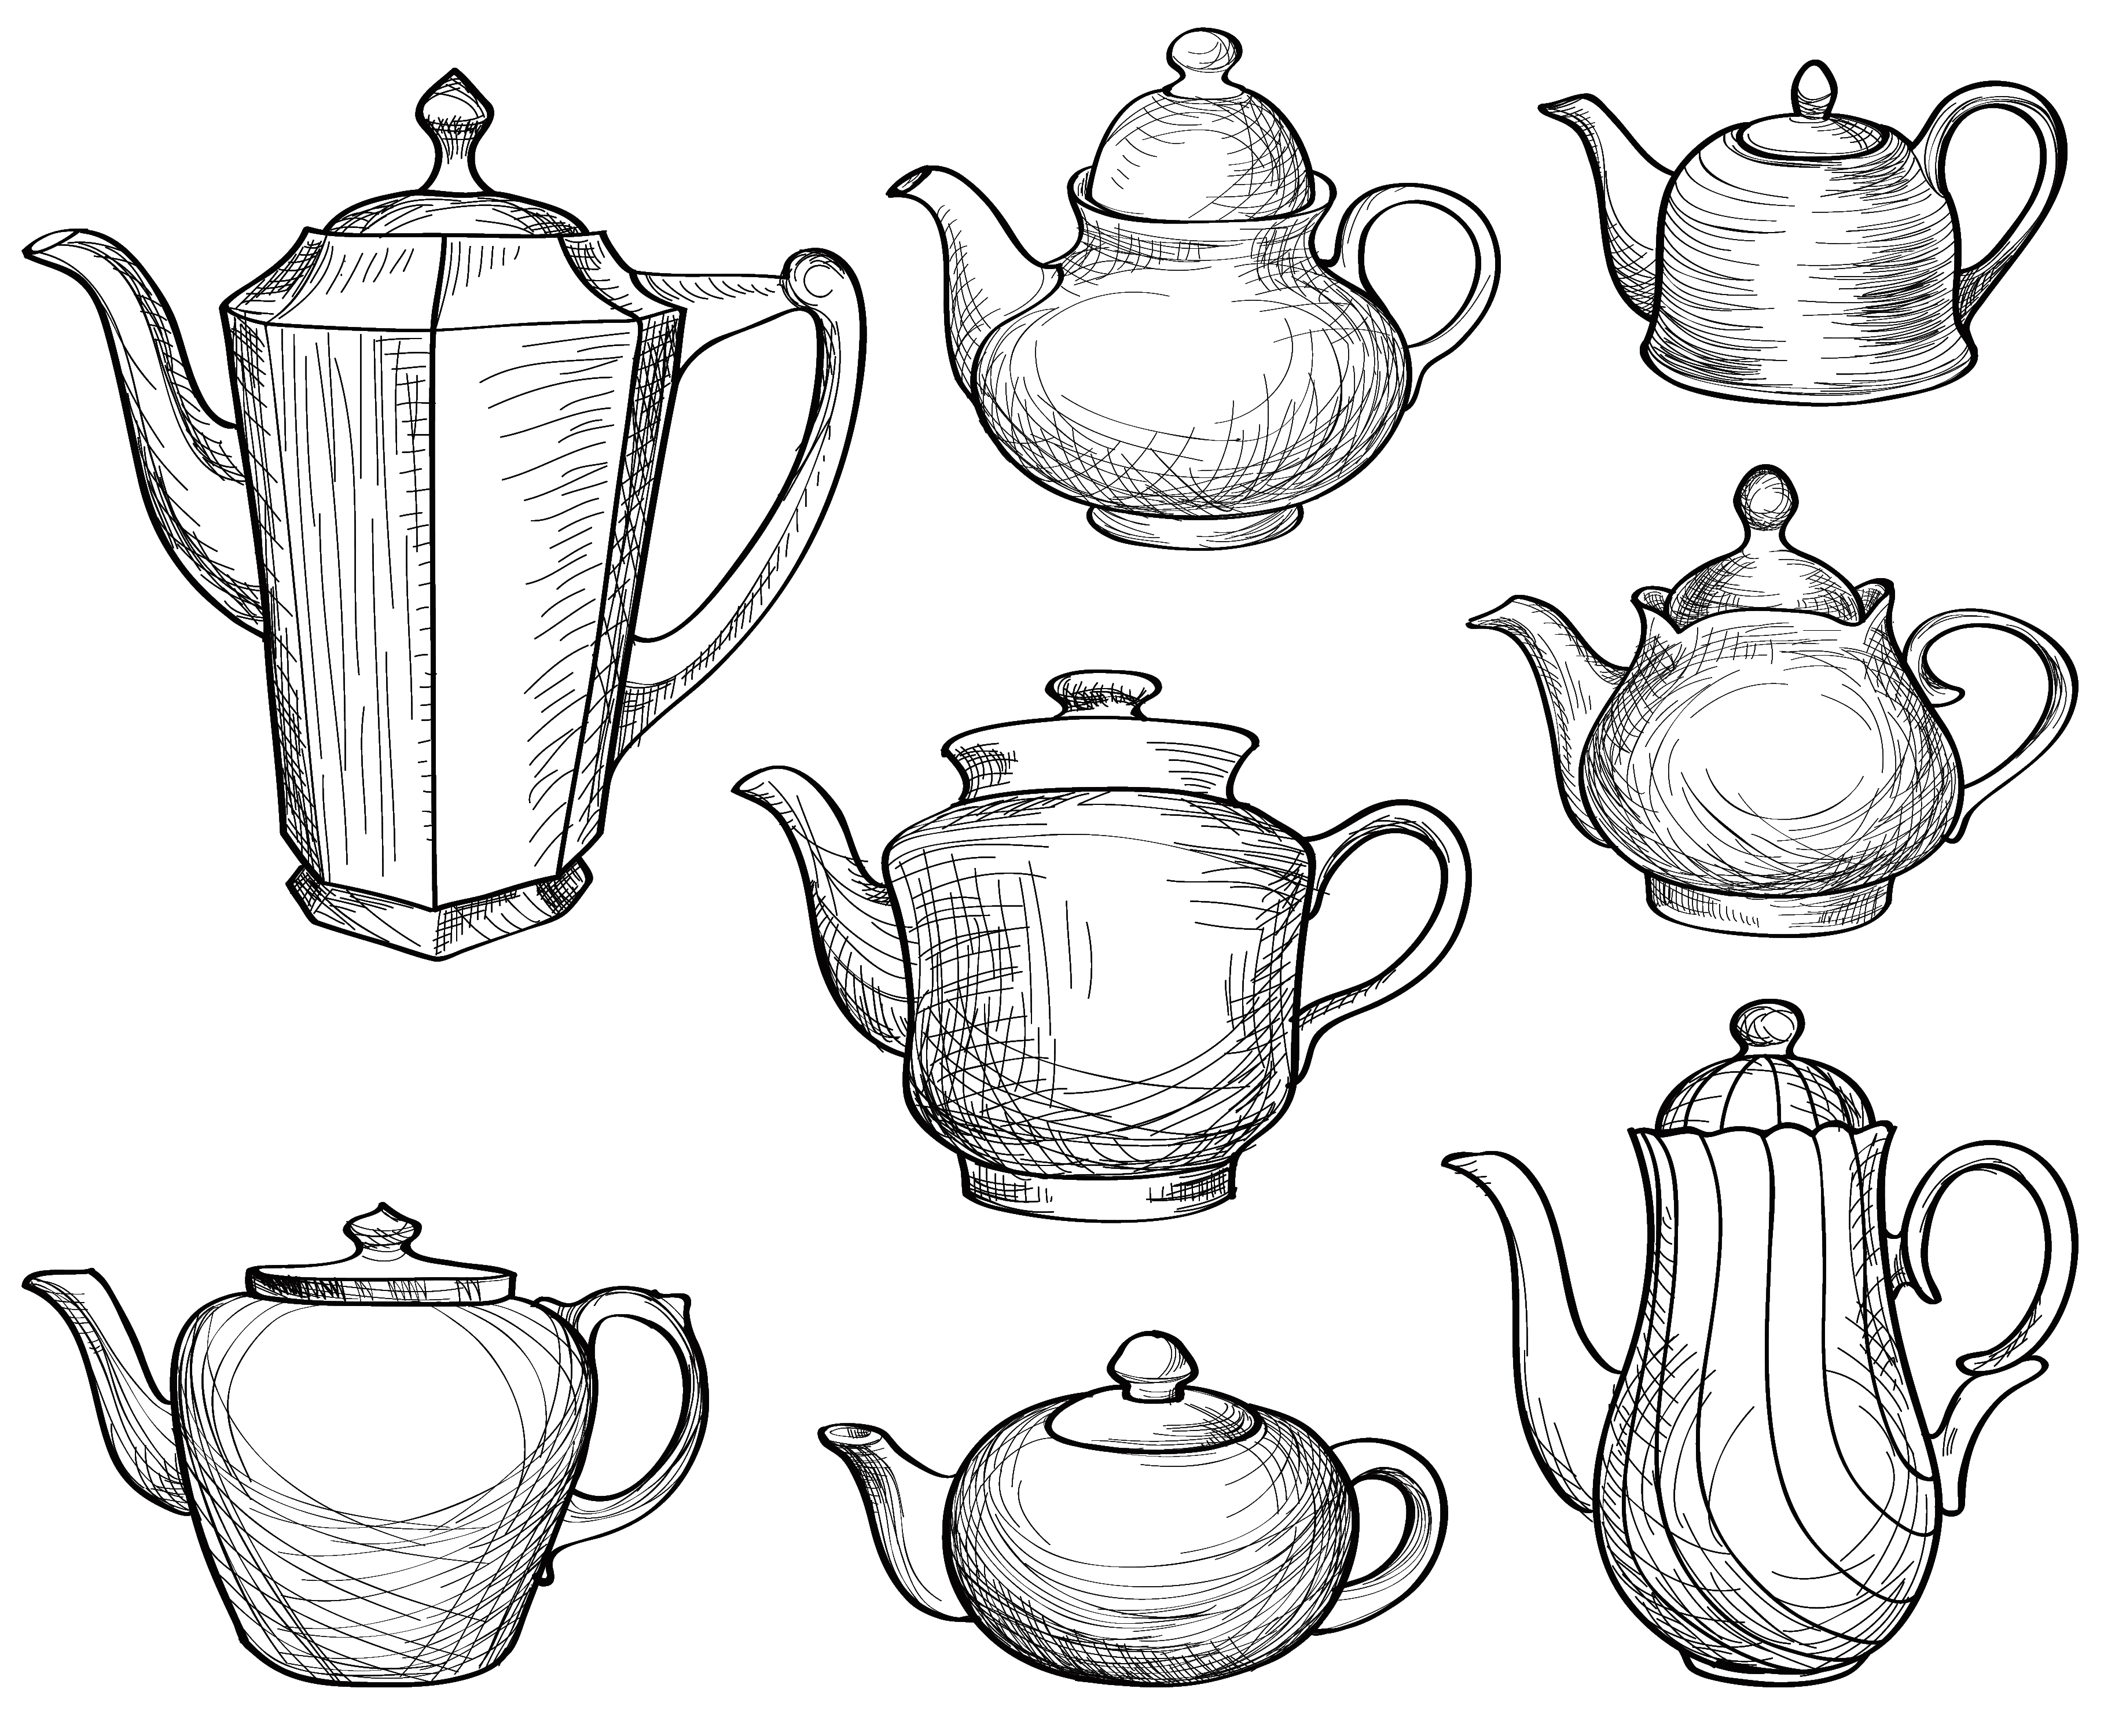
Tea kettles set. Teapots drawn collection. Coffee pot sketch. 531107
Teapot Sketch at Explore collection of Teapot Sketch
Web How To Draw Teapots, How To Draw A Realistic Teapot, How To Draw A Realistic Teapot.
Start Sketching The Main Shape, Which Is The Big Oval.
Draw The Little Circle At The Top.
Take The Eraser And Carefully Remove All The Extra Lines In Your Drawing.
Related Post: